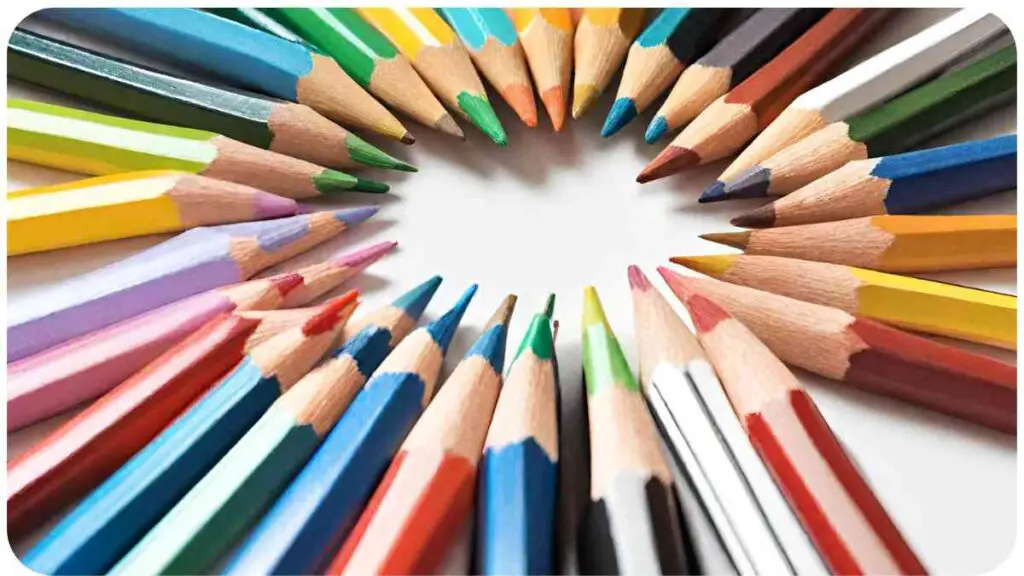
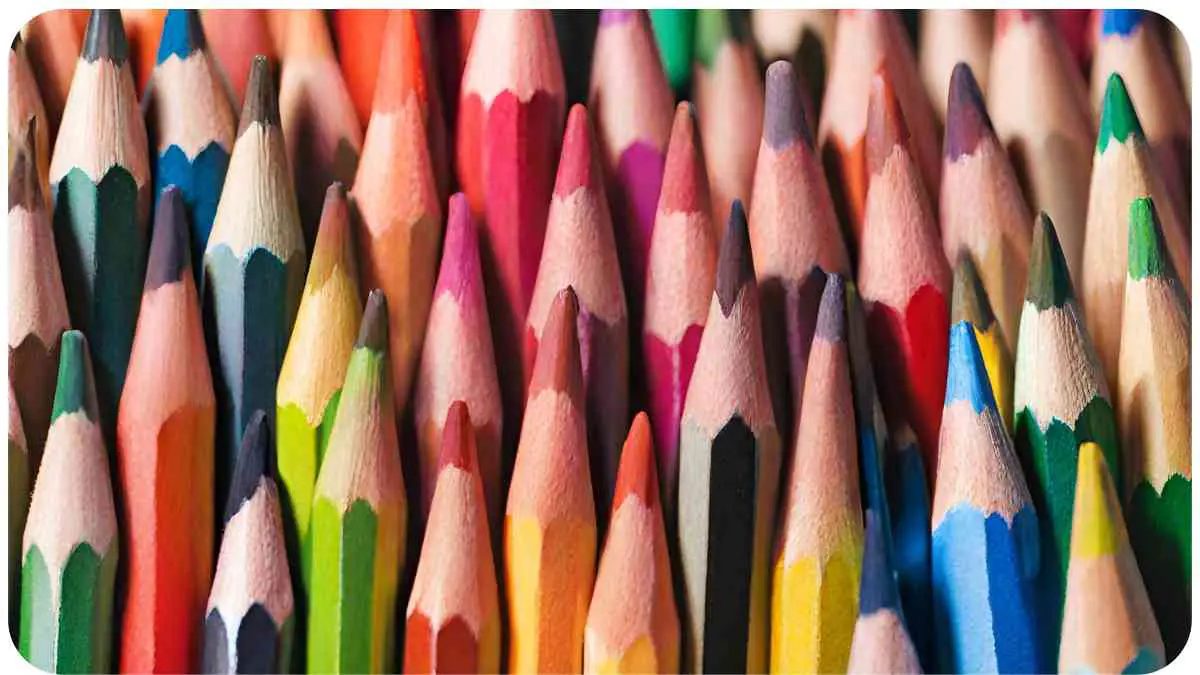
Colored pencils are more than just a tool for coloring; they’re a medium for artistic expression. Whether you’re a beginner or an experienced artist, understanding colored pencil shades is essential for creating vibrant and lifelike artwork.
In this comprehensive guide, we’ll delve into the nuances of colored pencil shades, exploring everything from color theory to advanced blending techniques.
| Takeaways |
|---|
| Mastering colored pencil shading requires understanding color theory and various shading techniques. |
| Experiment with different types of colored pencils to find the ones that suit your style and preferences. |
| Practice blending colors effectively using layering, burnishing, and solvent blending techniques. |
| Avoid common mistakes such as pressing too hard, skipping the underdrawing, and using the wrong type of paper. |
| Showcase your artwork through online platforms, exhibitions, and online marketplaces to gain exposure and connect with other artists. |
| Proper maintenance and storage are essential for preserving your colored pencil artwork. Use fixative spray to protect your artwork from smudging and fading, and store it vertically to prevent damage. |
2. Basics of Colored Pencils

Before diving into shades, it’s crucial to understand the basics of colored pencils. Here’s a handy table outlining the different types of colored pencils and their characteristics:
When crafting cards, mastering shading techniques brings designs to life. Explore various tips and tricks to enhance your card-making skills and elevate your creations. Dive into “The Ultimate Guide to Card Making: Tips and Tricks” card making guide for invaluable insights.”
| Type of Colored Pencil | Characteristics |
|---|---|
| Wax-Based | Smooth application, vibrant colors |
| Oil-Based | Blendable, rich pigments |
| Watercolor | Water-soluble, translucent hues |
| Pastel Pencils | Soft, blendable, ideal for fine details |
3. Understanding Color Theory
To master colored pencil shades, you need a solid grasp of color theory. Here’s a breakdown of the color wheel and how it influences your artwork:
| Primary Colors | Secondary Colors | Tertiary Colors |
|---|---|---|
| Red | Orange (Red + Yellow) | Vermilion |
| Yellow | Green (Yellow + Blue) | Chartreuse |
| Blue | Violet (Blue + Red) | Azure |
4. Exploring Different Types of Colored Pencils
Each type of colored pencil offers unique advantages and challenges. Here’s a comparison table to help you choose the right one for your needs:
Sculpture, spanning ancient to modern eras, unveils the evolution of artistry. From understanding form to mastering shading, delve into the intricate journey of sculpting. Explore “The Evolution of Sculpture: From Ancient to Modern” sculpture evolution for an enlightening exploration.
| Type of Colored Pencil | Pros | Cons |
|---|---|---|
| Wax-Based | Intense pigmentation, easy to layer | Prone to wax bloom |
| Oil-Based | Blendable, rich colors | Longer drying time |
| Watercolor | Versatile, can be used wet or dry | Less control when wet |
| Pastel Pencils | Soft, ideal for blending | Fragile, prone to breakage |
5. Techniques for Blending Colors
Blending is essential for achieving smooth transitions between shades. Here are some popular blending techniques:
| Blending Technique | Description |
|---|---|
| Layering | Building up layers of color gradually |
| Burnishing | Applying heavy pressure to blend colors |
| Solvent | Using a solvent like odorless mineral spirits to liquefy pigments |
6. Tips for Choosing the Right Paper

The type of paper you use can significantly impact the outcome of your artwork. Consider factors like texture, weight, and tooth. Here’s a table comparing different types of paper:
Watercolor paint’s properties offer insight into color dynamics and blending techniques. Understanding these principles enriches artistic endeavors beyond watercolor. Dive into “Understanding the Properties of Watercolor Paint: A Guide” watercolor guide for comprehensive knowledge.
| Paper Type | Texture | Weight | Tooth |
|---|---|---|---|
| Bristol Board | Smooth | Heavy | Fine |
| Watercolor | Rough | Medium | Medium |
| Drawing Paper | Medium | Light | Light |
7. Creating Depth and Dimension
Adding depth and dimension to your artwork can elevate it to the next level. Here’s how you can achieve this:
Layering: Experiment with layering different colors to create depth in your artwork. Start with lighter shades as a base and gradually build up to darker tones.
Shading: Pay attention to light and shadow to create a sense of depth. Use lighter shades for areas hit by light and darker shades for shadows.
Highlighting: Adding highlights to your artwork can make it pop. Use a white colored pencil or a kneaded eraser to add highlights to areas where light hits the subject.
8. Common Mistakes to Avoid
Even experienced artists make mistakes when working with colored pencils. Here are some common pitfalls to watch out for:
Pressing Too Hard: Applying too much pressure can result in a waxy buildup and make it difficult to layer colors.
Skipping the Underdrawing: A well-planned underdrawing can provide a roadmap for your artwork and prevent mistakes.
Using the Wrong Paper: Not all paper is suitable for colored pencils. Using the wrong type of paper can affect the texture and vibrancy of your colors.
Wood’s versatile canvas beckons artists to explore its potential as a painting surface. Discover compatibility considerations and unleash creativity on wood. Navigate “Can You Paint on Wood? A Guide to Surface Compatibility” wood painting guide for illuminating insights.
9. Advanced Techniques for Mastering Shades
Once you’ve mastered the basics, it’s time to level up your skills with advanced techniques:
Scumbling: This technique involves making small, circular strokes with the pencil to create texture and depth.
Burnishing with a White Pencil: After layering colors, use a white colored pencil to burnish the surface and blend the colors together.
Color Lifting: If you make a mistake, don’t panic! You can use a kneaded eraser or a piece of masking tape to lift off excess pigment.
10. Utilizing Colored Pencil Accessories
Investing in the right accessories can make a world of difference in your colored pencil artwork. Here are some must-have accessories:
Blending Stumps: These are useful for blending colors seamlessly, especially in small areas.
Electric Eraser: Perfect for precise erasing and creating highlights.
Fixative Spray: Use a fixative spray to protect your artwork from smudging and fading.
Selecting the right brush is pivotal for achieving desired effects in painting. Understanding brush types enhances artistic endeavors and elevates outcomes. Explore “How to Choose the Right Brush for Your Painting: A Comprehensive Guide” brush selection guide for invaluable guidance.
11. Showcasing Your Artwork

Once you’ve created a masterpiece, it’s time to share it with the world. Here are some tips for showcasing your artwork:
Online Platforms: Share your artwork on social media platforms like Instagram, Facebook, and Pinterest to reach a wider audience.
Art Exhibitions: Participate in local art exhibitions and galleries to gain exposure and connect with other artists.
Online Marketplaces: Consider selling your artwork on online marketplaces like Etsy or Society6.
12. Maintenance and Storage Tips
Proper maintenance and storage are essential for preserving your colored pencil artwork. Here are some tips to keep your artwork looking its best:
Use Fixative Spray: Once your artwork is complete, spray it with a fixative spray to protect it from smudging and fading.
Store Vertically: Store your colored pencils vertically to prevent them from breaking or becoming misshapen.
Use Acid-Free Paper: When framing your artwork, use acid-free paper and mats to prevent discoloration over time.
13. Troubleshooting Common Issues
Even the most experienced artists encounter challenges from time to time. Here are some common issues you may encounter and how to troubleshoot them:
Wax Bloom: If your colored pencil artwork appears hazy or cloudy, it may be due to wax bloom. Use a soft cloth to gently buff the surface and remove the bloom.
Uneven Pigmentation: If your colored pencil colors appear uneven or patchy, try adjusting your pressure and layering techniques.
Smudging: To prevent smudging, avoid resting your hand on the paper while drawing. You can also use a piece of scrap paper as a barrier between your hand and the artwork.
14. Inspiring Examples from Experts
To inspire you on your colored pencil journey, here are some examples of breathtaking artwork created by renowned artists:
[Include images of artwork by artists like Caran d’Ache, Karen Hull, and Marco Mazzoni]
15. Conclusion
Mastering colored pencil shades requires patience, practice, and a willingness to experiment. By understanding color theory, honing your techniques, and investing in quality materials, you can create stunning artwork that showcases your creativity and talent. So grab your colored pencils and let your imagination run wild!
Further Reading
- Pencil Shading: A Comprehensive Guide and Techniques: This in-depth guide provides comprehensive techniques for mastering pencil shading, covering everything from basic principles to advanced tips.
- Art is Fun – Colored Pencils: Explore the world of colored pencils with this informative article, which delves into various techniques, tools, and projects for artists of all skill levels.
- How to Shade with Coloured Pencils: Learn the art of shading with colored pencils through this insightful blog post, offering step-by-step instructions and practical tips for creating stunning artwork.
FAQs
How do I choose the right colored pencils for my artwork?
Colored pencils come in various types, including wax-based, oil-based, watercolor, and pastel pencils. Consider factors like pigment intensity, blendability, and paper compatibility when selecting the right colored pencils for your project.
What techniques can I use to blend colors effectively?
Experiment with layering, burnishing, and solvent blending techniques to achieve smooth transitions between colors. Each method offers unique advantages, so explore different blending techniques to find the one that works best for your style.
How can I prevent my colored pencil artwork from smudging?
To prevent smudging, avoid resting your hand on the paper while drawing and consider using a fixative spray to seal the artwork once it’s complete. Additionally, store your artwork in a protective sleeve or frame it with acid-free materials to minimize smudging over time.
What are some common mistakes to avoid when working with colored pencils?
Avoid pressing too hard, skipping the underdrawing, and using the wrong type of paper. Applying too much pressure can result in waxy buildup, while skipping the underdrawing can lead to proportion and composition errors. Using the wrong paper can affect the texture and vibrancy of your colors.
How can I improve my shading skills with colored pencils?
Practice regularly and experiment with different shading techniques, such as hatching, cross-hatching, and stippling. Pay attention to light and shadow, and study reference images to understand how light interacts with objects. Additionally, seek feedback from fellow artists and continue learning through tutorials and workshops.

Hellen James is the creator of Unified Crafts and has been crafting since she was a kid accompanied by her mom to the craft store, where she was free to choose whatever ignited her imagination.

