Painting on wood can be a rewarding DIY project, but it’s crucial to ensure surface compatibility for a successful outcome. In this guide, we’ll delve into the various aspects of painting on wood, from understanding different wood surfaces to selecting the right paint and applying it effectively.
| Takeaways |
|---|
| Proper surface preparation is essential for achieving a smooth and long-lasting paint finish on wood. |
| Choose the right type of paint based on factors such as durability, finish, and compatibility with the wood surface. |
| Sand the wood surface to create a smooth, uniform texture before painting to ensure better adhesion and a flawless finish. |
| Apply primer to seal the wood and create a smooth base for the paint, enhancing adhesion and durability. |
| Follow proper painting techniques, whether brushing or spraying, to achieve a professional-looking finish on wood surfaces. |
| Regular maintenance, including cleaning and touch-ups, is crucial for preserving the appearance and longevity of painted wood. |
2. Understanding Wood Surfaces

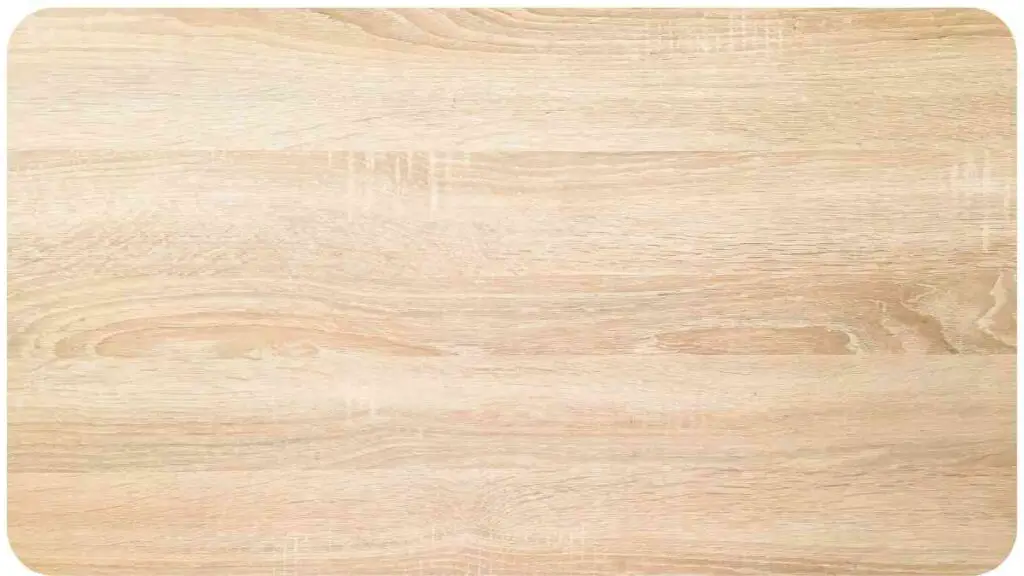
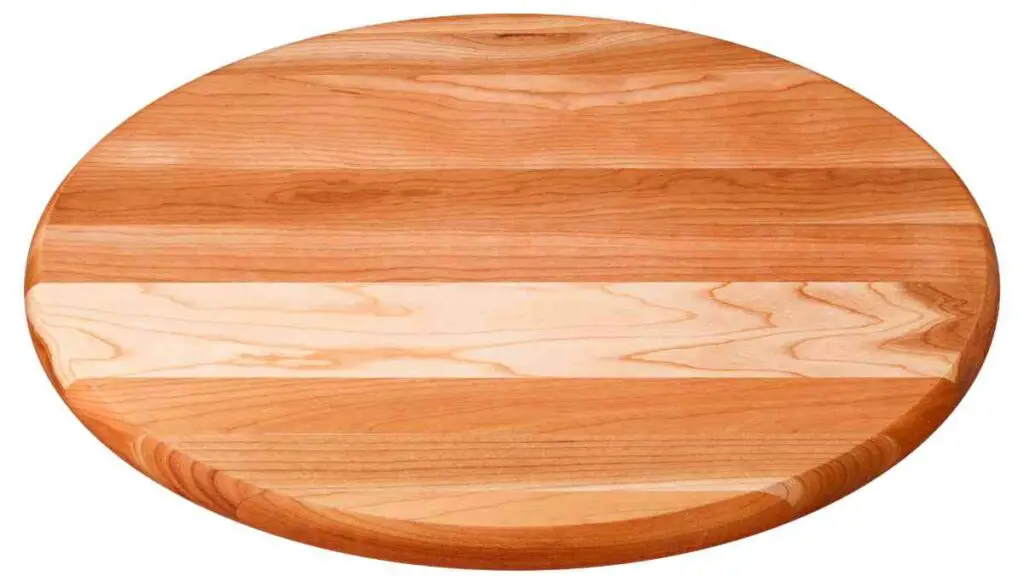
Wood surfaces come in different types, each with its unique characteristics and challenges. Before painting, it’s essential to identify the type of wood you’re working with and prepare it accordingly.
Enhance your living space with personalized creations DIY Woodworking Projects. From rustic shelves to sleek tables, discover endless possibilities to adorn your home with warmth and style.
Types of Wood
| Wood Type | Characteristics |
|---|---|
| Pine | Softwood, prone to dents |
| Oak | Hardwood, durable |
| Cedar | Resistant to decay and insects |
| Birch | Smooth texture, easy to work with |
Surface Preparation
Proper surface preparation is key to achieving a smooth and long-lasting paint finish. This involves cleaning the wood surface thoroughly and sanding it to create a smooth, even texture.
3. Choosing the Right Paint
Selecting the appropriate paint for your wood project is crucial for achieving a professional-looking result. With various types of paints available, consider factors such as durability, finish, and compatibility with the wood surface.
Unleash your creativity with intricate woodcarving techniques Woodcarving Techniques and Tips. Master the art of shaping wood into exquisite designs, whether you’re a novice or seasoned woodworker, with our comprehensive guide.
Types of Paints
| Paint Type | Characteristics |
|---|---|
| Latex | Water-based, quick-drying |
| Oil-based | Durable, smooth finish |
| Acrylic | Fast-drying, low odor |
| Chalk Paint | Matte finish, easy to distress |
Factors to Consider
When choosing paint, consider the environment the painted wood will be exposed to, such as indoor or outdoor settings. Additionally, factor in the desired finish, whether matte, glossy, or satin, to achieve the desired aesthetic appeal.
4. Preparing the Wood Surface

Properly preparing the wood surface before painting is essential for optimal adhesion and a flawless finish. This involves several steps, including cleaning and sanding.
Cleaning
Begin by cleaning the wood surface to remove any dirt, dust, or grease that may interfere with paint adhesion. Use a mild detergent solution and a scrub brush or sponge to clean the surface thoroughly. Rinse with clean water and allow the wood to dry completely before proceeding.
Embark on a woodworking journey with these inspiring projects Amazing Woodworking Projects. From elegant furniture pieces to charming decor items, our curated list offers something for every skill level and aesthetic preference.
Sanding
Once the wood is clean and dry, sand the surface to create a smooth, uniform texture. Use fine-grit sandpaper and sand in the direction of the wood grain to avoid scratches. Sanding helps remove any rough spots or imperfections and promotes better paint adhesion.
5. Priming the Wood
Priming the wood surface is an essential step that helps seal the wood and create a smooth, uniform base for the paint. It also enhances paint adhesion and improves the durability of the painted finish.
Importance of Primer
Applying primer helps prevent the wood from absorbing moisture from the paint, which can cause warping or swelling. It also blocks stains and tannins from bleeding through the paint and ensures a more even color and finish.
Types of Primers
| Primer Type | Characteristics |
|---|---|
| Oil-based | Excellent adhesion, ideal for bare wood |
| Shellac-based | Blocks stains and odors, fast-drying |
| Water-based | Low odor, quick-drying, easy cleanup |
6. Painting Techniques
Achieving a professional-looking paint finish on wood requires proper technique and application methods. Whether using a brush or a sprayer, follow these tips for best results.
Discover the fundamentals of woodworking with our beginner’s guide Woodworking Basics. Learn essential techniques, tools, and safety practices to kickstart your woodworking endeavors and create stunning pieces with confidence.
Brushing
When brushing paint onto wood, use a high-quality brush and apply thin, even coats in the direction of the wood grain. Avoid overloading the brush with paint, as this can lead to drips and uneven coverage. Work in small sections and feather out any brush marks for a smooth finish.
Spraying
Spraying paint onto wood can provide a smooth, flawless finish with minimal brush marks. Use a high-quality paint sprayer and follow the manufacturer’s instructions for thinning the paint and adjusting the spray pattern. Apply thin, even coats, overlapping each pass slightly for complete coverage.
7. Maintaining Painted Wood

Proper maintenance is essential for preserving the appearance and longevity of painted wood surfaces. Follow these tips for cleaning, touch-ups, and repairs to keep your painted wood looking its best.
Cleaning Tips
To clean painted wood surfaces, use a mild detergent solution and a soft cloth or sponge. Avoid harsh chemicals or abrasive cleaners, as these can damage the paint finish. Rinse with clean water and dry thoroughly to prevent water spots.
Maximize your digital art experience by optimizing tablet battery life Art Tablet Battery Life Tips. Elevate your creative process with these practical tips and tricks to ensure uninterrupted inspiration and productivity throughout your artistic endeavors.
Touch-ups and Repairs
Over time, painted wood surfaces may develop chips, scratches, or other imperfections. Touching up the paint as soon as damage occurs can help prevent further deterioration and maintain the appearance of the wood. Keep leftover paint for touch-ups and use a small brush or foam applicator for precise application.
8. Conclusion
Painting on wood can be a rewarding DIY project, but it requires careful consideration of surface compatibility and proper preparation and technique. By understanding different wood surfaces, choosing the right paint, and following proper painting techniques, you can achieve professional-looking results that will enhance the beauty and durability of your wood projects.
Remember to maintain painted wood surfaces regularly to preserve their appearance and protect them from damage. With the right approach and attention to detail, you can enjoy the beauty of painted wood for years to come.
Further Reading
Here are some additional resources for further information on painting on wood:
- Useful Tips on Painting Wood: This website offers practical tips and advice for painting wood surfaces, including surface preparation, paint selection, and application techniques.
- Surface Customization with Liquitex: Explore this blog post to learn about surface customization techniques using Liquitex paints and mediums. Discover creative ways to enhance and personalize your wood projects.
- What Paint to Use on Which Surface: This article provides insights into choosing the right paint for various surfaces, including wood. Learn about different types of paint and their compatibility with different materials.
FAQs
Can I paint directly on untreated wood?
Yes, you can paint directly on untreated wood, but it’s recommended to apply a primer first to improve adhesion and ensure better paint coverage and durability.
What type of paint is best for outdoor wooden surfaces?
For outdoor wooden surfaces, it’s best to use an exterior-grade paint that is specifically formulated to withstand harsh weather conditions and UV exposure. Oil-based or acrylic paints are commonly used for outdoor wood projects.
Do I need to sand the wood before painting?
Sanding the wood surface before painting helps create a smooth, even texture and promotes better paint adhesion. It’s recommended to sand the wood lightly with fine-grit sandpaper to remove any rough spots or imperfections.
How many coats of paint should I apply?
The number of coats of paint you should apply depends on several factors, including the type of paint, the color of the paint, and the desired finish. In general, applying two or more thin coats of paint will provide better coverage and durability than a single thick coat.
How do I clean painted wood surfaces?
To clean painted wood surfaces, use a mild detergent solution and a soft cloth or sponge. Avoid harsh chemicals or abrasive cleaners, as these can damage the paint finish. Rinse with clean water and dry thoroughly to prevent water spots.

Hellen James is the creator of Unified Crafts and has been crafting since she was a kid accompanied by her mom to the craft store, where she was free to choose whatever ignited her imagination.

