Welcome to our step-by-step guide on how to fix a jammed sewing machine. If you’re an avid sewist, you’ve probably encountered the frustrating situation of a jammed machine. Don’t worry, we’re here to help! In this article, we’ll provide you with comprehensive guidance on understanding your sewing machine, troubleshooting common issues, and ensuring its smooth operation.
By the end, you’ll be equipped with the knowledge to tackle any jamming problem effortlessly.
| Key Takeaways |
|---|
| 1. Understanding the components and mechanism of your sewing machine is crucial for troubleshooting and fixing issues efficiently. |
| 2. Thread jamming, needle problems, tension issues, and bobbin troubles are common causes of sewing machine jams. |
| 3. Follow a step-by-step guide to fix a jammed sewing machine, including identifying the jam, removing the needle, clearing the thread jam, inspecting the bobbin area, and reassembling and testing the machine. |
| 4. Regular maintenance, such as cleaning the machine, using high-quality thread, selecting the right needle, and checking and adjusting tension, can help prevent future jams. |
| 5. Additional resources provide further insights and instructions for fixing sewing machine jams, helping you enhance your knowledge and skills in sewing machine troubleshooting. |
2. Understanding the Sewing Machine
To effectively troubleshoot and fix a jammed sewing machine, it’s essential to have a good understanding of its different components and how they work together.
If you’re new to sewing, our comprehensive step-by-step tutorial will help you get started on your sewing journey. Learn the basics, from choosing fabrics to mastering essential stitches.
Components of a Sewing Machine

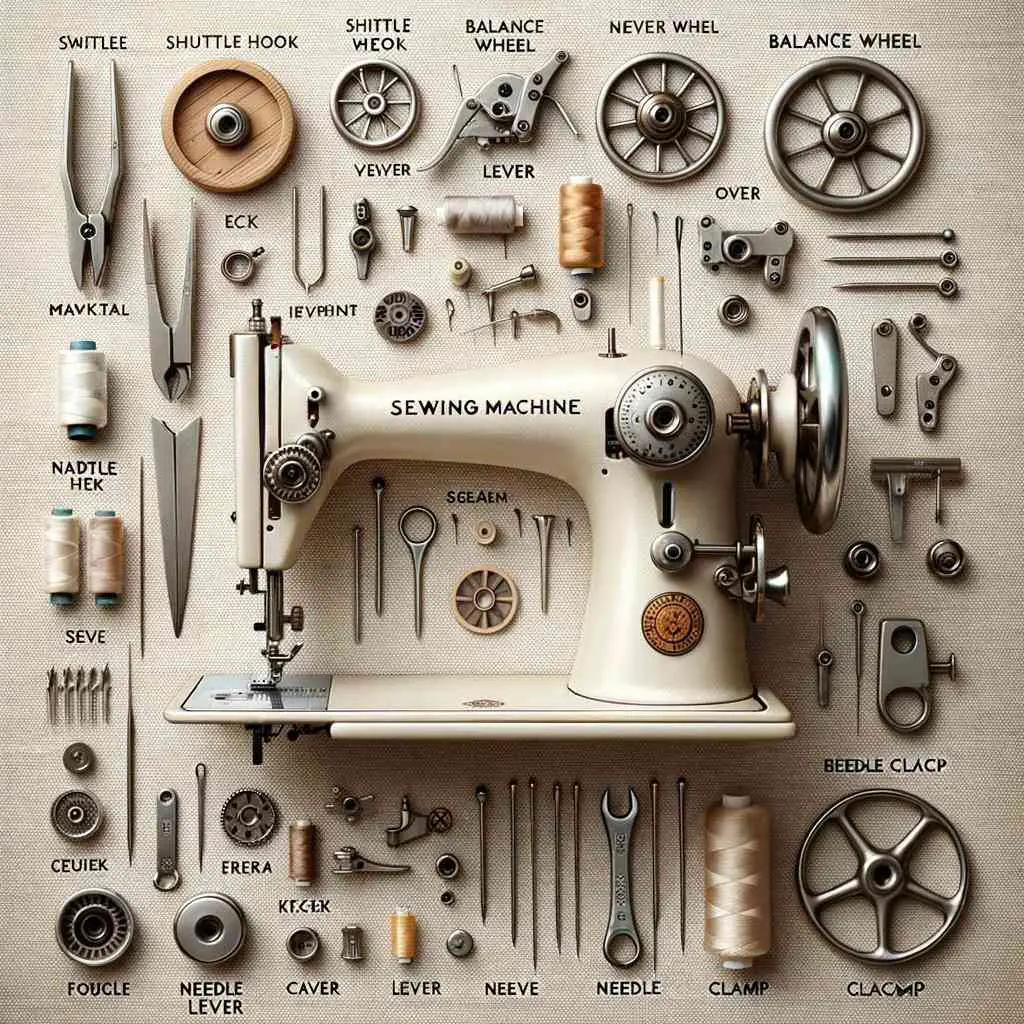
A typical sewing machine consists of various parts, including the needle, presser foot, feed dogs, bobbin, bobbin case, and tension disks. Each component plays a crucial role in the sewing process.
Basic Working Mechanism
The sewing machine’s basic working mechanism involves the needle, thread, and bobbin working in coordination. The needle moves up and down, creating stitches by looping the upper thread with the bobbin thread. The fabric is guided along by the feed dogs and the presser foot holds it in place.
3. Troubleshooting Common Issues
Before we delve into the step-by-step guide, let’s familiarize ourselves with the common issues that can lead to a jammed sewing machine. By identifying these problems, you’ll be better equipped to fix them.
Don’t let sewing machine issues ruin your day. Our step-by-step guide will walk you through troubleshooting common problems, ensuring your sewing machine runs smoothly
Thread Jamming
Thread jams occur when the upper thread and bobbin thread become entangled or get stuck in the machine. This can happen due to incorrect threading, accumulation of lint, or using a low-quality thread.
Needle Issues
A bent or damaged needle can cause serious problems and lead to thread jams. Needles can get damaged when sewing through thick fabrics or hitting a pin or a hard object accidentally.
Tension Problems
Incorrect tension settings can result in thread jams or uneven stitches. If the tension is too tight, the threads may break or gather up underneath the fabric. On the other hand, loose tension can cause a loopy or puckered stitch.
Bobbin Troubles
Bobbin-related issues are a common cause of sewing machine jams. Problems may arise from a poorly wound bobbin, improper installation, or tangled thread on the bobbin.
4. Step-by-Step Guide to Fixing a Jammed Sewing Machine

Now let’s dive into the step-by-step process of fixing a jammed sewing machine. Follow these instructions carefully to resolve any issues smoothly.
Step 1: Identifying the Jam
When your sewing machine gets jammed, the first step is to turn off the power and unplug it. Gently rock the handwheel back and forth to identify the source of the jam.
Are you curious about knitting machines? Discover the ins and outs in our comprehensive guide, from setup to creating beautiful knitted projects with ease.
Step 2: Removing the Needle
To avoid any accidents, carefully remove the needle from the machine. Refer to your machine’s manual for specific instructions on how to remove the needle safely.
Step 3: Clearing the Thread Jam
Inspect the machine for any tangled or stuck threads. Use small snips or a seam ripper to gently remove any jammed threads, both from the top and bobbin area. Be careful not to damage the delicate components.
TABLE: Common Causes of Thread Jams
| Causes | Solutions |
| Improper threading | Rethread the machine properly |
| Accumulated lint or debris in the machine | Clean the machine thoroughly |
| Poor quality or old thread | Use high-quality, fresh thread |
Step 4: Inspecting the Bobbin Area
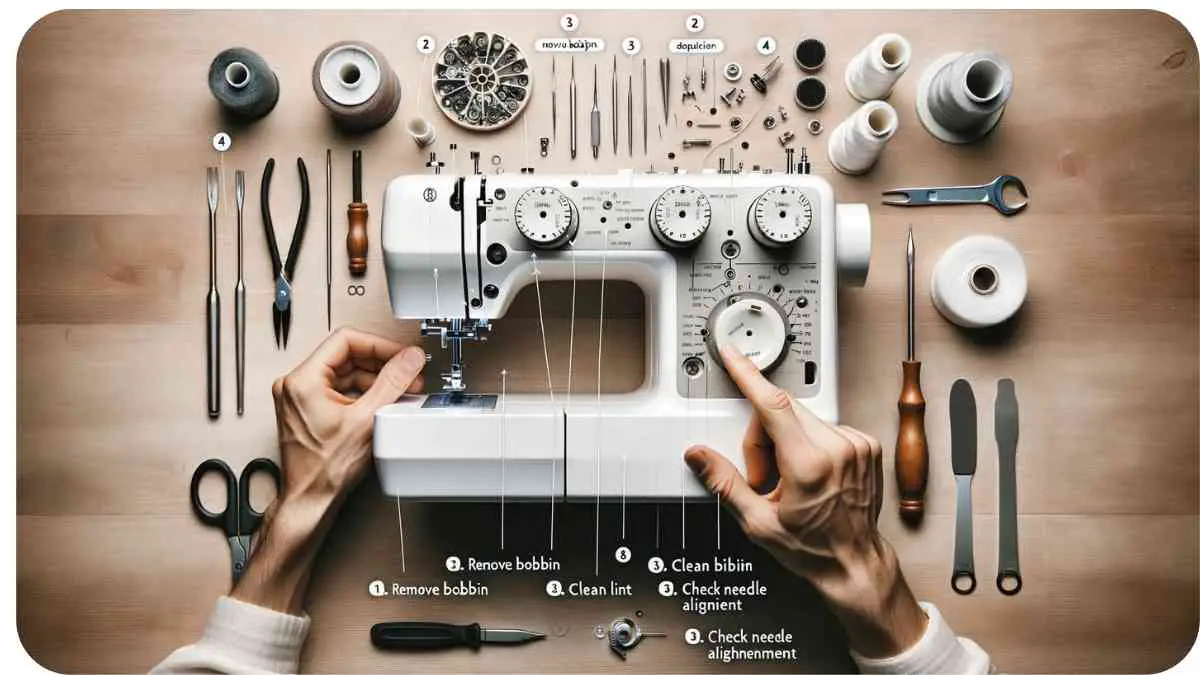
Once you’ve cleared the thread jam, check the bobbin area for any obstructions. Remove the bobbin case and clean it using a brush or compressed air. Ensure there are
no tangles or loose threads. Inspect the bobbin itself and rethread it if necessary, ensuring it is properly wound and inserted into the bobbin case.
TABLE: Bobbin Troubleshooting
| Problems | Solutions |
| Improperly wound bobbin | Rewind the bobbin, ensuring it is evenly wound |
| Incorrect bobbin installation | Follow the machine’s manual for proper bobbin insertion |
| Tangled thread on the bobbin | Remove the bobbin and untangle any threads |
Step 5: Reassembling and Testing the Machine
Once you have completed the necessary cleaning and fixing, carefully reassemble the machine, ensuring all components are correctly placed. Insert a new needle, making sure it is the appropriate size and type for the fabric you’ll be sewing. Plug the machine back in and turn it on.
Before resuming your sewing projects, test the machine on a scrap piece of fabric. Check if it stitches smoothly without any more issues. Adjust the tension if necessary, ensuring balanced and even stitches.
Explore the world of fabric dyeing with our comprehensive guide. Learn various techniques and unleash your creativity in customizing fabrics
5. Maintenance Tips to Prevent Jams

Prevention is key when it comes to avoiding sewing machine jams. Here are some essential maintenance tips that will help keep your machine running smoothly.
Cleaning the Machine Regularly
Regularly clean your sewing machine to remove lint, dust, and debris that can accumulate over time. Use a soft brush or a lint brush specifically designed for sewing machines. Clean the bobbin area, feed dogs, needle plate, and tension disks thoroughly.
Using High-Quality Thread
Invest in good quality thread for your sewing projects. Low-quality or old thread tends to break or create more lint, leading to potential jams. Opt for threads specifically designed for the type of fabric you’ll be working with.
Proper Needle Selection and Placement
Choose the correct needle for your project, considering both the fabric type and thickness. Using the wrong needle can cause tension issues and result in sewing machine jams. Make sure to insert the needle correctly, following the machine’s manual.
Struggling with color mixing in your art? Our guide will help you get it right. Enhance your artistic skills and create vibrant, harmonious masterpieces.
Checking and Adjusting Tension
Regularly check the tension settings on your sewing machine. Incorrect tension can lead to thread jams or poorly formed stitches. Adjust the tension according to the fabric and thread you’re using, ensuring balanced and even stitches.
6. Conclusion
A jammed sewing machine can be a frustrating roadblock in your sewing endeavors. However, armed with a good understanding of your machine, troubleshooting skills, and regular maintenance habits, you’ll be able to fix and prevent these issues with ease.
Remember to identify the cause of the jam, clear any tangled threads, inspect and clean the bobbin area, and reassemble the machine carefully. Follow maintenance tips such as regular cleaning, using high-quality thread, proper needle selection, and tension adjustment to minimize the risk of future jams.
Happy sewing without any hiccups, and enjoy the process of creating beautiful garments and crafts!
Further Reading
For more information on fixing jammed sewing machines, we recommend checking out the following resources:
iFixit – Jammed Sewing Machine – This article provides insights and step-by-step instructions for fixing a jammed sewing machine. It covers common issues and troubleshooting tips to get your machine back in working order.
Sewing Beginners – How to Fix a Sewing Machine: Step-by-Step Guide – Here, you’ll find a comprehensive guide with detailed instructions on fixing sewing machine issues, including jamming problems. The article is written in a beginner-friendly manner, making it easy to follow along.
The Spruce Crafts – Guide to Fix Your Sewing Machine – This resource offers a detailed guide to troubleshoot and repair common sewing machine problems. It covers various issues, including jamming, and provides helpful tips and techniques.
FAQs
How can I prevent my sewing machine from jamming?
To prevent sewing machine jams, make sure to clean your machine regularly, use high-quality thread, select the appropriate needle for the fabric, and check and adjust tension settings as necessary.
Why does my sewing machine keep jamming?
Sewing machine jams can occur due to various reasons, including incorrect threading, accumulation of lint, needle issues, tension problems, or bobbin troubles. Identifying the specific cause will help you resolve the issue.
How do I clear a thread jam in my sewing machine?
To clear a thread jam, start by turning off the power and removing the needle. Carefully inspect the machine for tangled or stuck threads and use small snips or a seam ripper to remove them. Follow the step-by-step guide provided earlier for detailed instructions.
What should I do if my bobbin keeps tangling?
If your bobbin keeps tangling, ensure it is properly wound, correctly inserted into the bobbin case, and free of any entangled threads. Also, check the tension on your bobbin case and adjust if needed.
Can I fix a jammed sewing machine on my own, or should I seek professional help?
Many sewing machine jams can be resolved on your own by following proper troubleshooting steps. However, if you are unsure or if the problem persists, it’s advisable to seek professional help from a qualified technician.

Hellen James is the creator of Unified Crafts and has been crafting since she was a kid accompanied by her mom to the craft store, where she was free to choose whatever ignited her imagination.

