Welcome to the wonderful world of DIY pottery! Pottery is an ancient and versatile art form that allows you to express your creativity while creating functional and decorative pieces. In this article, we’ll provide you with a comprehensive guide to get started with pottery as a beginner.
From choosing the right clay to mastering different pottery techniques, we’ll cover everything you need to know. So let’s dive in and discover the joys of pottery together!
| Key Points |
|---|
| Understand the importance of glazes and firing in enhancing the appearance and durability of your pottery pieces. |
| Experiment with different glaze techniques like layering, wax resist, and special effects to create unique designs. |
| Choose the appropriate kiln type for firing your pottery, considering factors like temperature control and desired effects. |
| Explore different pottery decoration techniques like carving, slip decoration, stenciling, and stamping to add personality to your pieces. |
| Prioritize safety in your pottery studio by wearing protective gear, maintaining good ventilation, and following proper handling and disposal guidelines. |
| Set up your pottery studio with enough space and proper work surfaces, storage solutions, and access to a water source. |
| Utilize resources such as books, online communities, classes, workshops, and pottery suppliers to further enhance your pottery knowledge and skills. |
| Troubleshoot common pottery problems by employing techniques like slowing down drying, ensuring even thickness, and adjusting glaze application. |
| Embrace the learning process and enjoy the artistry of pottery, allowing yourself to experiment, improve, and create unique and beautiful pieces. |
2. Choosing the Right Clay

Before you start creating pottery, it’s crucial to select the appropriate clay for your projects. There are various types of clay available, each with its own properties and characteristics. Here are a few common types of clay used in pottery:
| Clay Type | Characteristics |
| Earthenware | Low-fired clay, porous, often used for tiles |
| Stoneware | High-fired clay, durable and suitable for pots |
| Porcelain | Translucent white clay, known for its beauty |
| Raku | Low-fired clay, unique glazing and firing process |
When choosing clay, consider the firing temperature, workability, and the desired appearance of your finished pieces. Experiment with different clay types to find the one that suits your style and preferences.
Building a strong foundation in scrapbooking is essential for beginners. Explore our article on 15 Easy Scrapbooking Techniques to learn valuable tips and tricks.
3. Tools and Materials
To begin your pottery journey, you’ll need some essential tools and materials. Here’s a list of items you should have in your pottery toolkit:
| Tools and Materials | Description |
| Pottery Wheel | Used for wheel throwing, allows for precise shaping and molding |
| Kiln | Oven-like device used for firing pottery and achieving desired hardness |
| Clay | The main material used for creating pottery |
| Pottery Tools (loop, knife, rib) | Assortment of tools for shaping, smoothing, and detailing pottery pieces |
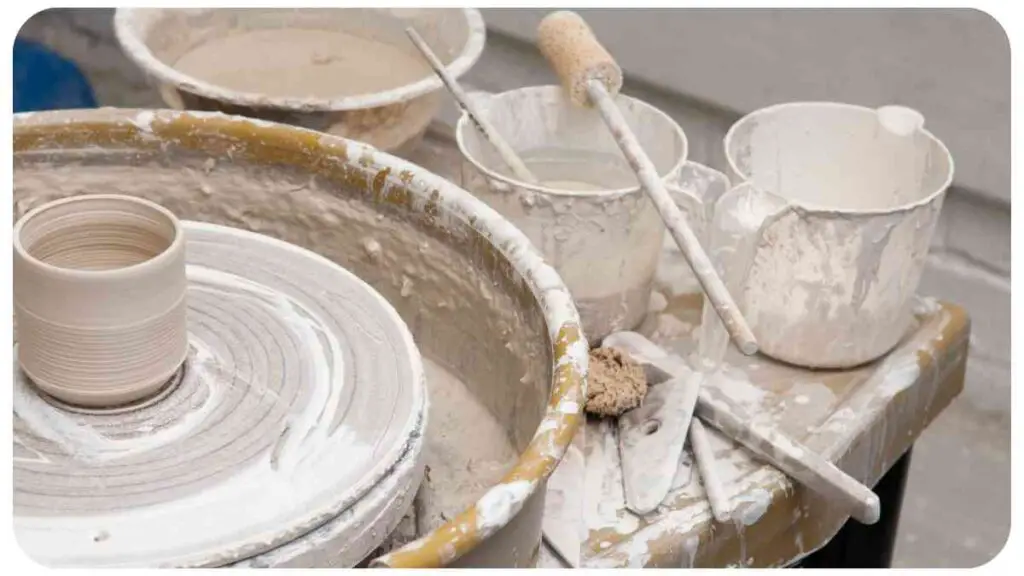
| Sponge and Bucket | Used for cleaning and moistening clay during the creation process |
| Glazes and Underglazes | Colored coatings applied to pottery to enhance appearance and durability |
| Kiln Gloves and Safety Equipment | Protection from high temperatures and safe handling of pottery and kiln |
These tools and materials will provide you with a solid foundation for your pottery endeavors.
4. Basic Pottery Techniques
Now that you have your clay and tools ready, let’s explore some basic pottery techniques you can try as a beginner. Mastering these techniques will allow you to create a wide range of pottery pieces. Let’s look at a few popular methods:
Capture your memories in beautiful albums and journals with our step-by-step guide to DIY Scrapbooking. Start preserving your precious moments today!
Pinching
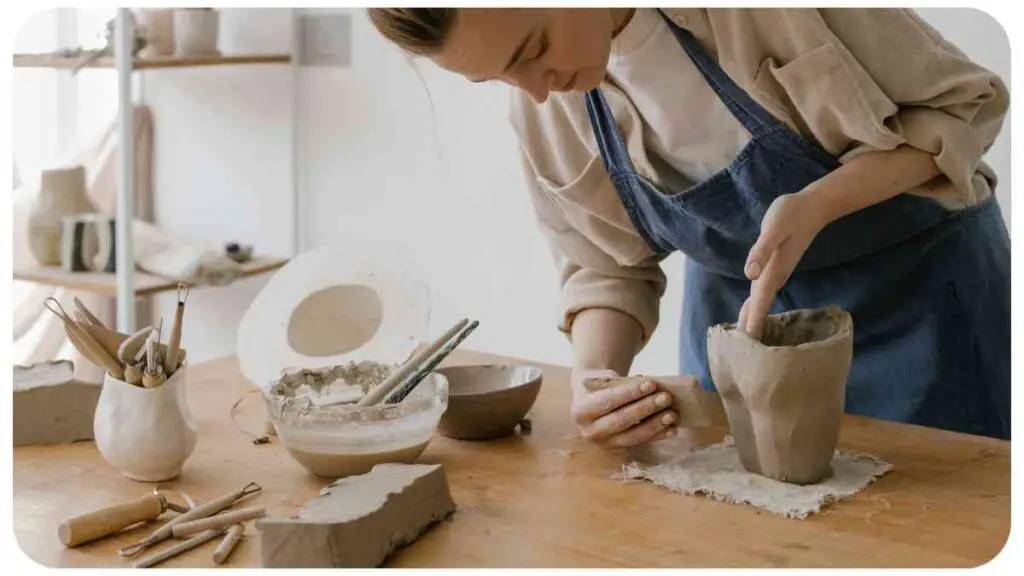
Pinching is one of the oldest pottery techniques. It involves using your fingers to pinch, shape, and mold the clay into a desired form. This technique is great for creating smaller pieces like bowls and cups. It’s a tactile approach that allows for organic and unique shapes.
Coiling
Coiling involves rolling out long, snake-like coils of clay and stacking them to build the walls of your pottery piece. This technique is versatile and can be used to create larger vessels or sculptural forms. Coiling gives the pot strength and stability.
Slab Building
Slab building utilizes flat rolled-out pieces of clay to construct pottery. By cutting and assembling these slabs, you can create various shapes such as plates, trays, and boxes. Slab building allows for precise and geometric designs.
Wheel Throwing
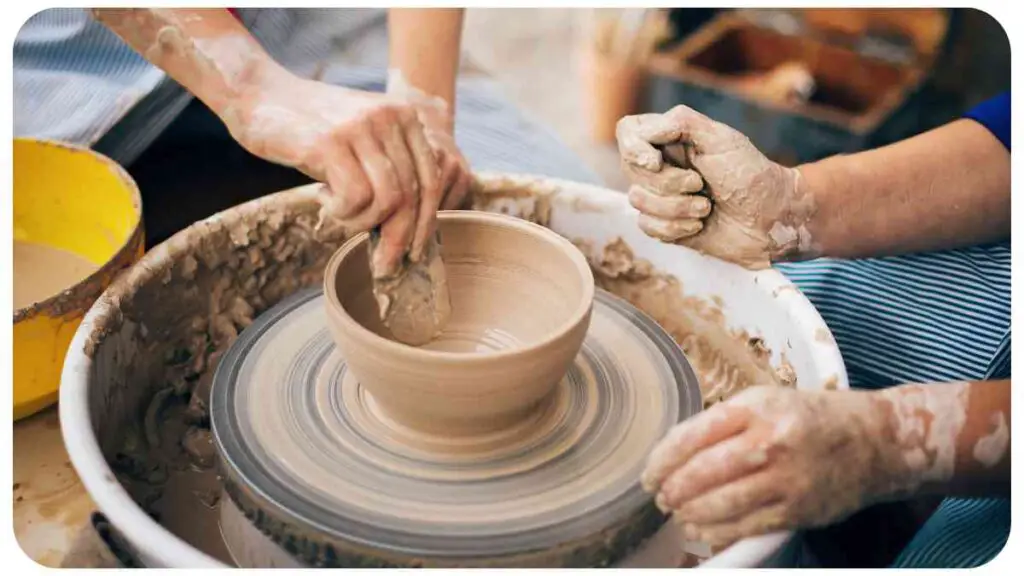
Wheel throwing involves using a pottery wheel to shape clay while it spins. It requires practice and patience to master but allows for symmetrical and refined pottery forms. This technique is commonly used for creating bowls, vases, and mugs.
These basic techniques provide a solid foundation for your pottery skills. Experiment with each one and find the style that resonates with you.
Dive into the world of card making and unleash your creative potential. Discover our comprehensive resource, The Ultimate Guide to Card Making, and master the art of creating personalized cards.
5. Understanding Glazes and Firing
After you have created your pottery pieces, it’s time to enhance their appearance and durability by applying glazes and firing them in a kiln. Glazes are liquid coatings that are applied to the pottery surface before firing. They come in various colors and finishes, from glossy to matte. Here are some key points to remember about glazes:
- Glaze Application: Use a brush, spray gun, or dip your pottery piece into the glaze to achieve an even coat. It’s essential to follow the specific instructions for the type of glaze you are using.
- Glaze Techniques: You can experiment with different techniques like layering glazes, applying wax resist to create designs, or using special effects like crystalline glazes or crackle finishes.
- Glaze Firing: Once your pottery is glazed, it needs to be fired in a kiln. The firing process involves heating the pottery at specific temperatures to make the glazes mature and become permanent. The firing temperature depends on the type of clay and glaze used.
Firing and Kiln Types
When it comes to firing, it’s important to understand the different kiln types and their characteristics:
| Kiln Type | Description |
| Electric | Commonly used kiln for beginners and studio potters. Easy to use, controlled, and consistent. |
| Gas | Offers greater temperature control and versatility for advanced potters. |
| Wood | Traditional method favored by some artists. Provides unique and atmospheric effects in glazing. |
| Raku | A low-fire technique renowned for its unpredictable and beautiful finishes. |
Understanding the firing process and the type of kiln you use will help you achieve the desired results for your pottery pieces.
6. Pottery Decoration Techniques
Decoration is an essential aspect of pottery that adds personality and visual interest to your creations. Let’s explore some pottery decoration techniques you can experiment with:
Carving and Incising
Carving and incising involve cutting or etching designs onto the surface of the clay. This technique allows you to create intricate patterns or texture on your pottery. Use carving tools or even household items like toothpicks or needles to create unique designs.
Craft unique and stunning jewelry pieces with our expert tips and tricks. Learn the art of DIY Jewelry Making and express your creativity through handmade accessories.
Slip Decoration
Slip is a liquid mixture of clay and water that can be applied to pottery for decorative purposes. It can be painted or poured onto the surface to create a variety of effects. Slip decoration can enhance the appearance of your pottery and add depth to your designs.
Stenciling and Stamping
Stenciling and stamping are simple yet effective techniques for creating repetitive patterns or designs on your pottery. You can use pre-made stencils or create your own from paper or plastic. Stamps can be made from various materials such as clay, wood, or even household objects.
7. Troubleshooting Common Pottery Problems

As a beginner, it’s common to encounter challenges when working with pottery. Here are some common problems and their possible solutions to help you troubleshoot:
| Problem | Possible Solution |
| Cracking during drying | Slow down the drying process by covering your piece with plastic wrap. |
| Uneven thickness | Use guides or rulers to ensure consistent thickness throughout. |
| Warping during firing | Make sure your pieces are properly supported and kiln shelves are level. |
| Glaze running or pooling | Apply thinner coats of glaze or adjust glaze thickness. |
| Pinholing or blistering | Bisque fire at a lower temperature or adjust the glaze formula. |
| Clay sticking to the wheel | Use water or a bat system to prevent sticking. |
Remember that pottery is a learning process, and don’t be discouraged by setbacks. Each challenge presents an opportunity to refine your skills and improve your understanding of the craft.
8. Pottery Studio Safety
Creating pottery involves working with various tools, materials, and high temperatures, so it’s crucial to prioritize safety in your pottery studio. Here are some safety tips to keep in mind:
- Wear protective gear such as goggles, aprons, and kiln gloves to protect yourself from chemicals, flying debris, and high temperatures.
- Ensure good ventilation in your studio to avoid inhaling dust or toxic fumes from glazes or clay.
- Keep your workspace clean and organized to prevent accidents and injuries.
- Follow proper guidelines for handling and disposing of clay, glazes, and other pottery materials, as some may contain hazardous substances.
By following these safety precautions, you can create pottery in a safe and enjoyable environment.
Sculpting is a captivating art form that allows you to unleash your inner artist. Begin your sculpting journey with our beginner’s guide, Unleash Your Inner Artist: A Beginner’s Guide to Sculpting, and bring your artistic visions to life.
9. Setting Up Your Pottery Studio
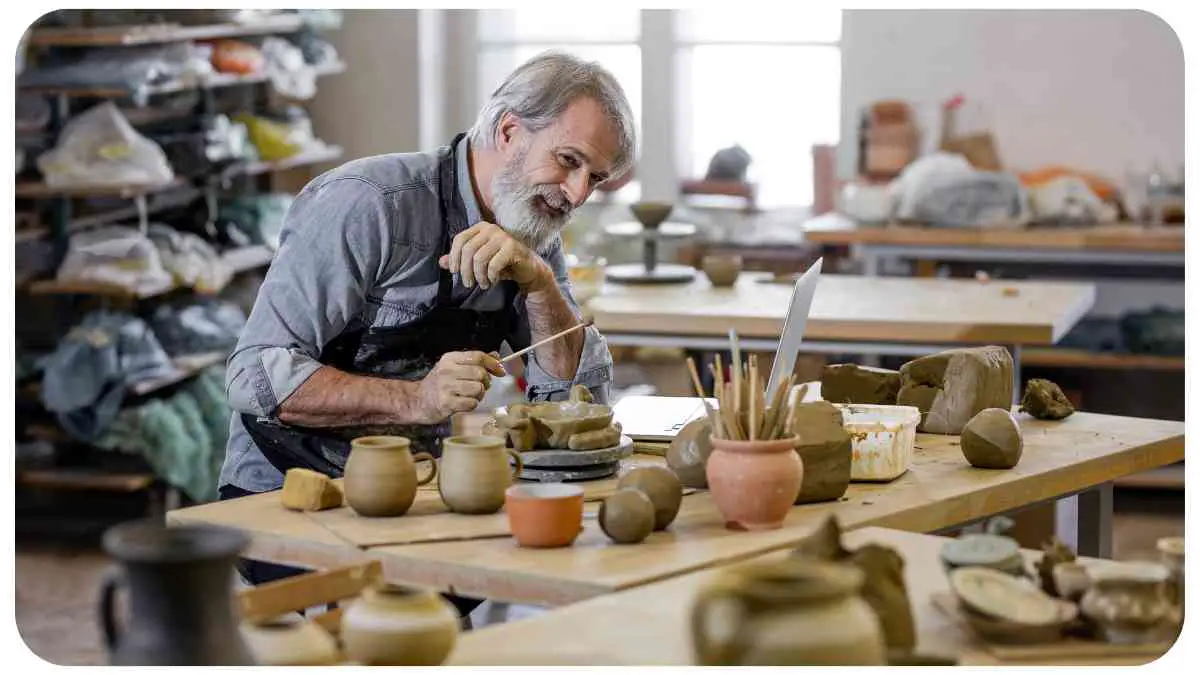
Having a dedicated pottery studio can greatly enhance your pottery experience. Here are some considerations when setting up your own pottery studio:
- Space: Choose a well-ventilated area with enough space for your equipment and materials. Ensure adequate lighting for proper visibility.
- Work Surfaces: Invest in sturdy tables or workbenches that provide ample room for creating and storing your pottery projects.
- Storage: Organize your tools, clay, and glazes in cabinets or shelves to keep them accessible and well-maintained.
- Water Source: Have a nearby water source for clay preparation, cleaning tools, and moistening the clay during the pottery-making process.
Setting up your pottery studio will create a dedicated space for practicing your craft and allow you to fully immerse yourself in the pottery-making process.
10. Pottery Resources and References
As you continue your pottery journey, it’s helpful to have access to valuable resources and references. Here are some recommendations to further enhance your knowledge and skills:
Books
- “The Ceramicist’s Guide to Clay” by Joan Smith
- “Mastering the Art of Pottery” by Emily Davis
- “The Glaze Handbook” by Linda Peterson
- “Pottery Techniques: A Comprehensive Guide” by John Roberts
Online Communities and Forums
- Ceramic Arts Network (ceramicartsnetwork.org)
- Pottery Making Illustrated (potterymaking.org)
- Reddit Pottery Community (reddit.com/r/pottery)
- Clay Times Magazine
Pottery Classes and Workshops
- Local community centers and art studios often offer pottery classes for beginners. Check out your area for available options.
- Online platforms like Udemy and Skillshare offer pottery courses taught by experienced instructors.
Pottery Suppliers and Equipment

- Axner Pottery Supply (axner.com)
- Clay-King (clay-king.com)
- The Ceramic Shop (theceramicshop.com)
- Sheffield Pottery (sheffield-pottery.com)
By utilizing these resources and references, you can continue your learning journey and stay inspired in your pottery practice.
Conclusion
Congratulations on taking the first step in your DIY pottery adventure! In this article, we’ve covered everything you need to know as a beginner in pottery. From choosing the right clay to learning various pottery techniques, understanding glazing and firing, exploring decoration techniques, and ensuring safety in your pottery studio, you now have a solid foundation to create beautiful and functional pottery pieces.
Remember, pottery is a blend of artistic expression and technical skill. With practice and perseverance, you will continue to hone your craftsmanship and create unique pieces that showcase your creativity. Embrace the joy of working with clay, and don’t be afraid to experiment and explore new techniques.
So roll up your sleeves, get your hands dirty, and let your imagination take flight. Happy potting!
Further Reading
Here are some additional resources to explore and deepen your understanding of pottery:
Pottery for Beginners by Classpop: A comprehensive guide covering the basics of pottery, from clay selection to firing techniques.
How to Start a Pottery Hobby by The Pottery Wheel: An informative article providing step-by-step guidance on starting your pottery hobby, including setting up a studio and essential tools.
Pottery Tips and Tricks by Firenflux1 on Pinterest: A collection of helpful tips and tricks for pottery enthusiasts, ranging from beginner techniques to advanced pottery skills.
Feel free to explore these resources to expand your knowledge and refine your pottery skills.
FAQs
Here are some common questions and answers regarding pottery:
1. How do I choose the right clay for my pottery projects?
To choose the right clay, consider factors such as firing temperature, workability, and desired appearance of your finished pieces. Experiment with different clay types to find the one that suits your style and preferences.
2. What is the firing process in pottery?
The firing process involves heating the pottery in a kiln to specific temperatures to make the clay harden and the glazes mature. Firing temperatures vary depending on the type of clay and glaze used.
3. How can I troubleshoot cracking in my pottery pieces?
Cracking can occur due to uneven drying. Slow down the drying process by covering your piece with plastic wrap or misting it with water to prevent rapid moisture loss and cracking.
4. How can I prevent glaze running or pooling on my pottery?
To prevent glaze running or pooling, apply thinner coats of glaze and ensure that the glaze is mixed to the correct consistency. Additionally, make sure your pottery piece is level during the firing process.
5. Is it necessary to have a pottery wheel to create pottery?
No, a pottery wheel is not necessary for creating pottery. Techniques like hand-building with coils, slabs, or pinching can be used to create beautiful pottery pieces even without a wheel.

Hellen James is the creator of Unified Crafts and has been crafting since she was a kid accompanied by her mom to the craft store, where she was free to choose whatever ignited her imagination.

